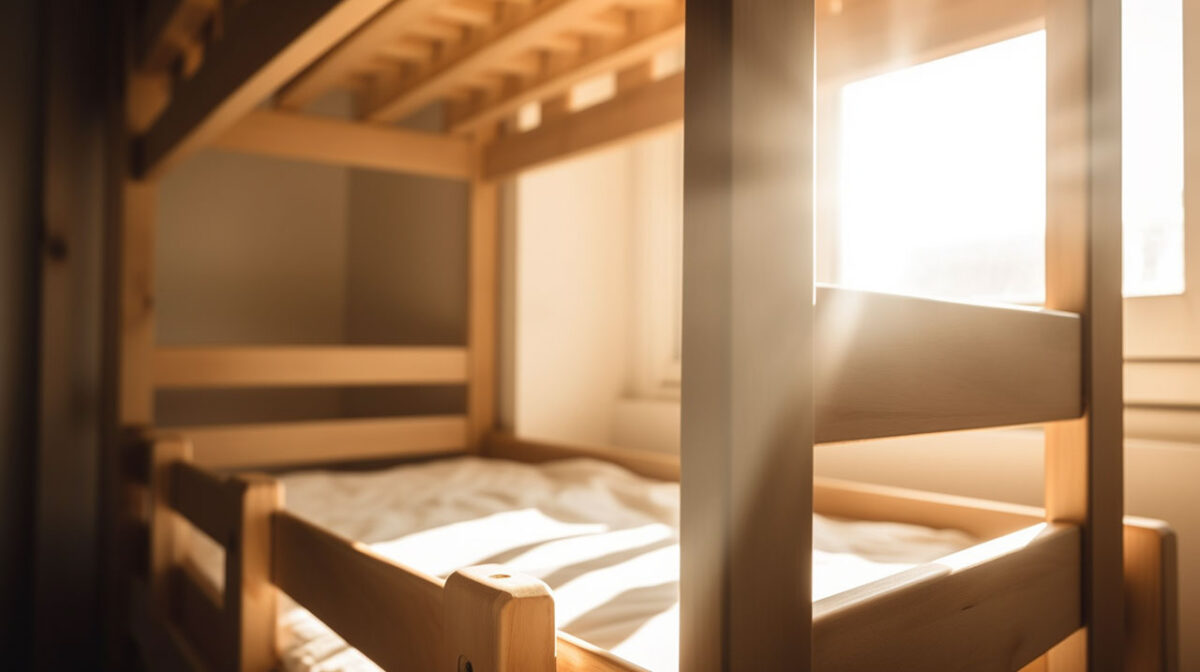
It’s sunny outside and the weather is still warm. It’s the weekend, and what better activity to pursue on a day like this than to browse some garage sales looking for some hidden treasures. We perused the town looking for some pine bunk beds to furnish the kids room. We were hoping to find something simple but sturdy and safe (you don’t want to go cheap when it comes to buying bunk beds for the kids’ bedroom). We struck gold after searching on CraigsList and finding a neighborhood sale with a nice finished pine bunk bed.
We then spent the entire afternoon cleaning it up and stripping it down and then getting it ready for re-painting. The nice thing about pine is that it’s simple and versatile and painting is easy. We’re going to go with a colorful collage of paint to match the bright scheme of the room. Afterwards, we’ll put a few cheap mattresses on top and it will be ready for sleeping! It will take a few days to complete, and I’ll take some photos and post them here when I’m finished with the project. The extra benefit is that this is something that everyone in the family can be a part of. There’s nothing like putting on some old clothes, breaking out the paint, and going to town.
Some tips for painting furniture
Here are some tips for painting unfinished children’s furniture made of wood:
- Surface Preparation: Start by sanding the surface of the furniture to create a smooth and even base for painting. Use fine-grit sandpaper to remove any rough spots, splinters, or imperfections. Wipe away any dust or debris with a clean cloth.
- Primer: Applying a coat of primer is recommended, especially for unfinished wood. Primer helps the paint adhere better and provides a consistent base for the paint color. Choose a primer that is specifically formulated for wood surfaces.
- Non-Toxic Paint: When selecting paint, opt for non-toxic and child-safe options. Look for paints labeled as low VOC (volatile organic compounds) or water-based. These paints have fewer harmful chemicals and odors, making them safer for children.
- Paint Application: Use a brush or roller to apply the paint evenly over the furniture’s surface. Start with thin coats and allow each coat to dry completely before applying the next. This helps prevent drips and ensures a smooth finish. Consider using foam brushes or mini rollers for smaller and intricate areas.
- Color and Design: Depending on your preference, you can choose a solid color for a clean look, or get creative with patterns and designs. Consider using stencils or painter’s tape to create fun shapes or stripes. Use multiple colors to add vibrancy and visual interest.
- Protective Finish: To protect the painted surface and enhance its durability, apply a non-toxic clear topcoat or sealer. This helps prevent scratches, stains, and makes cleaning easier. Select a water-based polyurethane or varnish suitable for children’s furniture.
- Drying and Curing: Allow the painted furniture to dry and cure according to the instructions on the paint cans. Keep the painted furniture in a well-ventilated area until the paint has fully cured, which typically takes a few days to a couple of weeks, depending on the type of paint used.
Remember to follow the manufacturer’s instructions on the paint cans and work in a well-ventilated area. Taking these steps will help ensure a safe and beautiful transformation of the unfinished children’s furniture.